


Creative Practice
A Beginner's Guide to Linocut Printing at Home (UK Supplies and Safety)
October 03, 2026
A linocut is a relief print. You carve into a block, roll ink over what's left of the surface, and press paper onto it. Whatever you cut away stays the colour of the paper; everything you leave behind prints. That's the whole method, and it's why the medium suits beginners so well. No press, no darkroom, no dedicated studio. A kitchen table, a sheet of glass, a small block and an afternoon will get you a finished print you'd be happy to frame.
What follows is a practical starting point: the tools worth buying, the cutting habits that keep your fingers intact, and where to find supplies in the UK without spending a fortune on kit you don't need yet.
The kit, from essential to optional
You can begin with a surprisingly short list. Add the rest as you find you want it.
- A block. Traditional grey lino, or one of the softer alternatives below. Start around 10 x 15 cm — small enough to finish in one sitting.
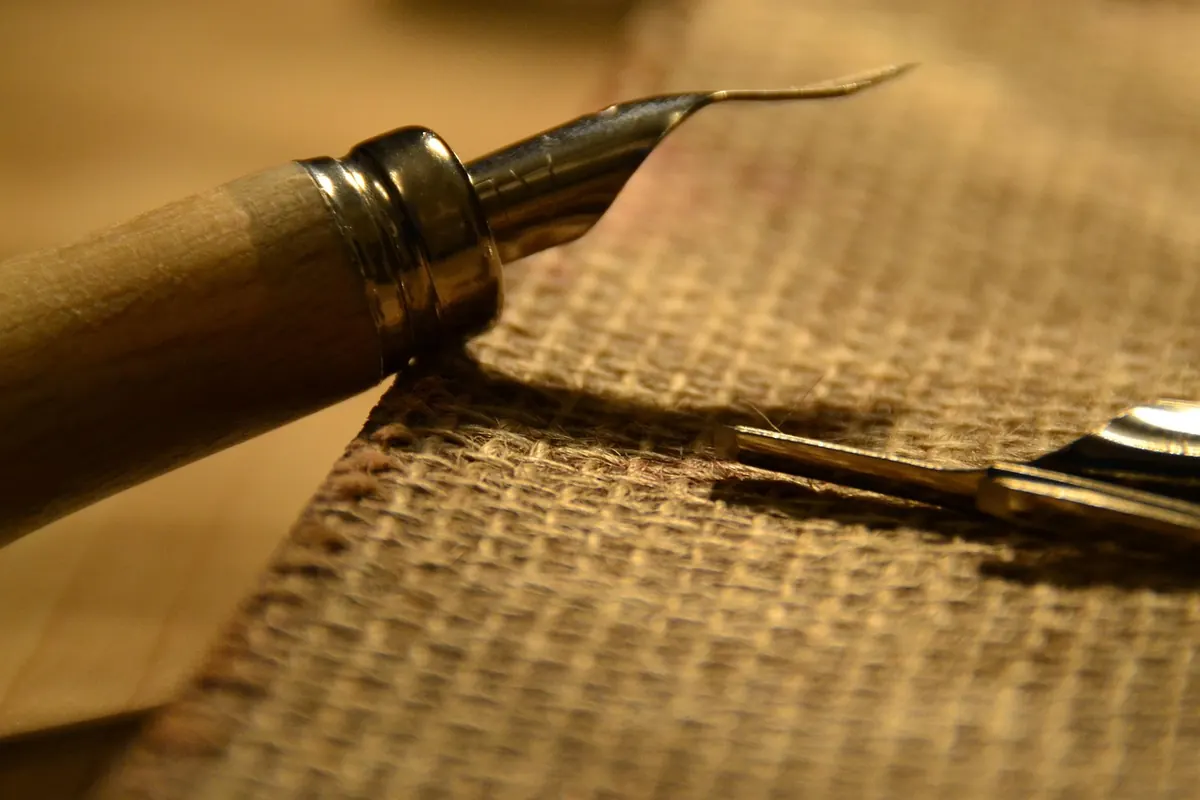
- Cutting tools. A handle with interchangeable gouges. A V-shaped tool cuts fine lines; a U-shaped tool clears larger areas.
- A surface that won't slide. A bench hook or a non-slip cutting mat. This matters more than the tools.
- A roller (brayer). Soft rubber, roughly 10 cm wide, for rolling ink onto the block.
- Ink. Water-washable relief ink is the easiest choice at home.
- An inking plate. A sheet of glass or acrylic with taped edges, or a smooth ceramic tile.
- Paper. Thin, smooth-ish papers take a hand-pressed print best.
- Something to rub with. A Japanese baren, the back of a wooden spoon, or a clean dry roller.
- Newsprint and kitchen paper for testing, wiping and cleaning up.
Bought separately, that lot usually comes to somewhere between £30 and £45, and a bench hook can be made from two scraps of wood and a couple of screws in ten minutes. The block and the blade are the two things worth spending properly on; everything else can be cheap.
Choose a block you can actually cut
Traditional grey lino is firm, holds crisp detail and is backed with hessian. It can be brittle in a cold room and grippy to cut; leaving it in a warm place for an hour softens it enough to work comfortably. Softer options — Essdee's soft-cut, rubber stamp blocks, and the vinyl blocks sold by specialist print shops — cut like a firm eraser and are far more forgiving of a first attempt.
The differences show up quickly in practice. Grey lino holds a two-millimetre line cleanly; rubber crumbles if you try it, which is why stamp blocks suit bold shapes and simple lettering rather than fine hatching. Vinyl sits somewhere in the middle — it takes detail well and never crumbles, but it costs more per sheet than lino.
Start soft if you're unsure whether you'll enjoy the process. Once you're confident, traditional lino rewards you with cleaner edges and finer lines.
Don't fight the block. If a gouge is dragging, stop and ask why: is the blade blunt, or are you pushing against the direction of your own design? A sharp blade needs much less pressure, which makes it safer as well as cleaner.
Cutting safely: the habits that matter
Cuts are the most common injury in relief printing, and nearly all of them happen because a hand ends up in front of the blade.
Build these habits from your first block
- Cut away from your body. Always.
- Keep the hand holding the block behind the cutting edge, never in front of it.
- Turn the block, not your wrist, when you change direction.
- Take several shallow passes rather than one deep, forceful push.
- Sharpen or replace blades the moment they start to drag.
- Brace the block against a bench hook or mat so it can't slip.
- Put the tool down when you're talking, drinking tea or checking your phone.
- Stop when you're tired. Most accidents happen in the last twenty minutes of a session.
If you can see the blade pointing towards you, your hand is already in the wrong place. Reposition the block, not your fingers.
If you do cut yourself, stop and deal with it properly: clean the wound, apply pressure, and dress it. A deep cut, one that won't stop bleeding, or anything affecting the movement or feeling in a finger needs proper medical attention rather than a plaster and optimism. Keep a small first-aid kit on the same table as your tools — the five seconds it takes to reach one is the difference between a nuisance and an afternoon in A&E.
Inks, paper and ventilation
Inks
Water-based relief inks dry quickly and clean up with soap and water, which makes them ideal for a kitchen table. The trade-off is that they can dry on the roller mid-session, so work briskly and keep a damp cloth nearby. Water-miscible oil-based inks are the natural upgrade: they clean up with soap and water like the water-based ones, but they dry slowly — often over several days — so they stay workable on the glass and give denser, more even blacks. That slow drying is exactly what makes them easier for hand printing. You have time to roll out, position the paper and burnish without the ink skinning over.
Traditional oil-based inks, and the white spirit or turpentine used to clean them, belong in a properly ventilated workshop, not at the kitchen table. Skip them for now.
Paper
Hand burnishing works best with thin, smooth paper. Cartridge paper around 100–150 gsm from an art shop is perfectly good for practice, and Japanese papers such as Hosho or Kitakata are what most printmakers reach for once they're happy with the image. Heavy watercolour paper — 300 gsm and up — really needs a press, so leave it until you have access to one. Lightly misting the back of the paper with water before printing helps the ink transfer into the fibres.
Ventilation and clean-up
Open a window even when you're using water-based ink; the smell is mild but the room isn't getting fresher. Never clean ink off your hands with solvent — barrier cream or thin nitrile gloves are cheaper than the alternative. Wash the roller and the inking plate promptly in warm soapy water, before ink dries in the roller's edge and ruins it. Used kitchen paper goes in the bin, not down the sink.
Your first print, step by step
- Sketch your design at the size you want to print. Remember that the block prints in reverse, so any letters or numbers must be drawn back to front.
- Transfer it by drawing over the back of the sketch with a soft pencil, laying it face down on the block and rubbing, or simply draw straight onto the block in pencil.
- Carve the outline first, then clear the background. Ink and test print after twenty minutes rather than at the end — it's the only way to see how the block is actually reading.
- Roll out a small blob of ink on the glass until it makes a thin, even layer that ticks or squeaks slightly under the roller. Too much ink fills the fine lines you just carved.
- Roll ink across the block, then lay the paper on top and hold it still. Burnish with a baren or the back of a spoon in small circles, working out from the centre.
- Peel the paper from one corner slowly and steadily. This is the moment of truth.
- Repeat, adjusting pressure and ink as you go. Number the prints in the order you pull them.
When it goes wrong
- Patchy, weak print. Not enough pressure or uneven ink — burnish harder and roll a thinner layer.
- Muddy lines that should be crisp. Too much ink, or the gouge wasn't deep enough and the roller is filling the valley.
- Ink appearing in the cut-away areas. Over-inking, or loose carving debris sitting in the block. Wipe the block and clear the crumbs with a soft brush.
- Ink drying on the roller. Common with water-based ink on a warm day. Work in smaller batches and mist the roller lightly with water.
Where to buy supplies in the UK
- High-street art shops. Cass Art, Hobbycraft and Fred Aldous (Manchester) all stock lino, gouges and small tubes of ink — useful when you want something today.
- Online art retailers. Jackson's Art, Great Art and Cowling & Wilcox are reliable for prices on blocks, paper and Essdee tools, with frequent sales.
- Specialist print suppliers. Handprinted in Bexhill, Intaglio Printmaker, Lawrence Art Supplies and Ironbridge Printmakers stock wider ink ranges, Japanese papers and vinyl blocks you won't find elsewhere.
- Local print studios. Many run open-access sessions and beginner courses. An evening with someone who can watch your hands is worth more than any gadget.
Buy one block, one cutter handle and a single small tube of ink. Finish a print with those before you buy anything else, and you'll find the rest of the kit chooses itself.
Photo: julireif / Pixabay
Related posts
More stories you’ll love reading